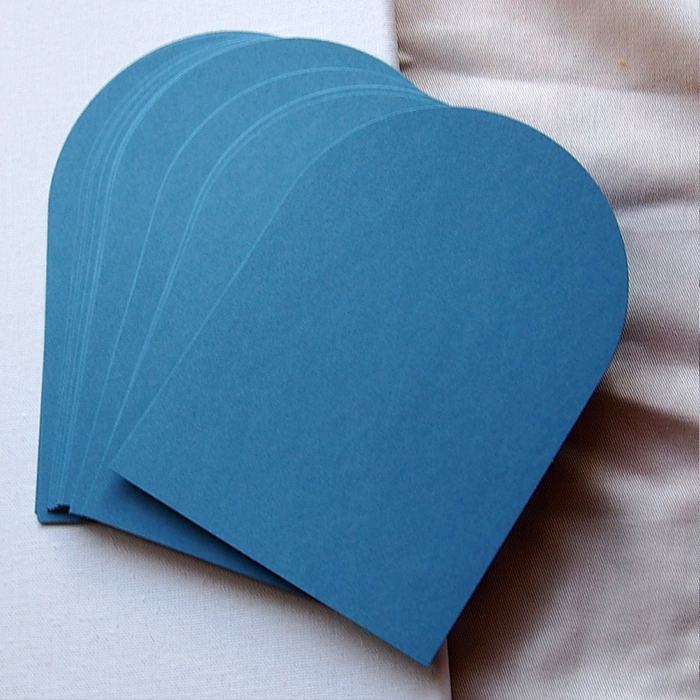
DIY Cardstock Printing: How to Get Started with Home Printing

Have you ever wanted to try your hand at cardstock printing from the comfort of your own home? DIY cardstock printing can be a fun and cost-effective way to create personalized invitations, greeting cards, and more. In this blog post, we’ll provide you with a step-by-step guide to get started with DIY cardstock printing, including recommended equipment, software, and printing techniques. With a little practice, you’ll be able to produce professional-quality materials right at home.

Step 1: Gather Your Materials
Before you dive into the world of cardstock printing, it’s essential to assemble the necessary materials. Here’s a list of items you’ll need:
- Cardstock Paper: Select high-quality cardstock paper in the weight and finish that suits your project. Common choices include matte, glossy, or textured cardstock.
- Printer: Invest in a good-quality inkjet or laser printer that can handle cardstock. Make sure it’s compatible with thicker paper types.
- Printer Settings: Familiarize yourself with your printer’s settings for cardstock printing. Check the user manual or online resources for specific guidance.
- Design Software: Use design software like Adobe Illustrator, Photoshop, or free alternatives like Canva to create your designs.
- Cutting Tools: Depending on your project, you may need scissors, a paper trimmer, or a cutting machine like a Cricut for precise cuts.
- Ink and Toner: Ensure your printer has enough ink or toner to complete your project.
Step 2: Design Your Project
Now that you have your materials ready, it’s time to design your cardstock project. Here’s how to go about it:
- Open Your Design Software: Launch your chosen design software and create a new document with the dimensions of your cardstock.
- Design Elements: Add text, images, and any other design elements you want to include in your project. Customize colours, fonts, and layouts to match your vision.
- Test Print: Before committing to a full run, perform a test print on regular paper to check for any design flaws or alignment issues.
Step 3: Adjust Printer Settings
Printing on cardstock requires specific printer settings to ensure optimal results. Here’s what you need to do:
- Load the Cardstock: Make sure your printer is compatible with the thickness of your cardstock. Most printers have a manual feed or a cardstock setting.
- Adjust Print Quality: Select the highest print quality setting for the best results.
- Paper Type: Set the paper type to “cardstock” or a similar option in your printer settings.
- Colour Calibration: Calibrate your printer if necessary to ensure accurate colour representation.
Step 4: Print Your Project
With your design ready and printer settings adjusted, it’s time to print your cardstock project. Follow these steps:
- Load Cardstock: Place a sheet of cardstock into the printer’s manual feed tray or designated cardstock slot.
- Print Test Page: Print a single test page to ensure the settings are correct and the colours are accurate.
- Print the Full Run: Once the test page looks good, proceed to print the full quantity of cardstock sheets you need for your project.
Step 5: Cut and Assemble
After printing, it’s time to cut and assemble your DIY cardstock project:
- Cutting: Use scissors, a paper trimmer, or a cutting machine to cut out your printed designs according to your project’s specifications.
- Assembly: If you’re making cards or invitations, fold the cardstock along the designated crease lines. Add any additional embellishments or elements to complete your project.
Step 6: Share Your Creations
With your DIY cardstock printing project complete, it’s time to share your creative endeavours with friends, family, or customers. Whether you’re sending out personalized cards, invitations, or crafting unique gifts, the satisfaction of producing something special from the comfort of your own home is immensely rewarding.
Remember, practice makes perfect when it comes to DIY cardstock printing. Experiment with different designs, paper types, and printer settings to hone your skills and create impressive, one-of-a-kind projects. Happy printing!
